 An easy step-by-step job guide to DIY campervan conversions
Congratulations! You’ve found the van of your dreams and you’ve got it home safe to your garage.
So, what’s next?
It’s time to take things slowly with a step-by-step job guide so you tackle everything in the right order.
But if you do get yourself into trouble, don’t worry there’s always help close at hand.
- Stripping and cleaning out
- Windows, ventilation and solar panels
- Framing (Walls, Ceiling and Floor)
- Electrics, first fix (run cables)
- Insulation and heating
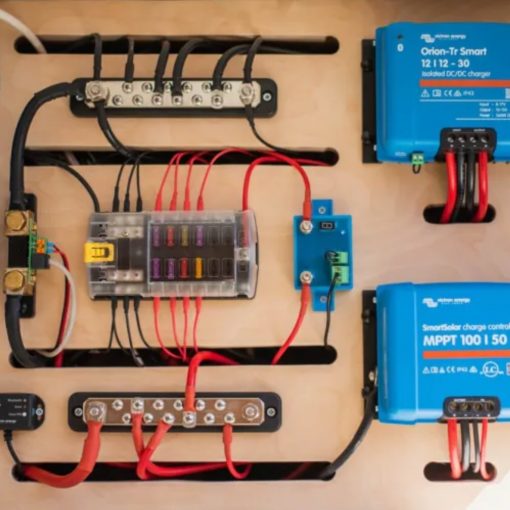
- Electric and gas systems
- Plumbing and water
- Bed and Seating
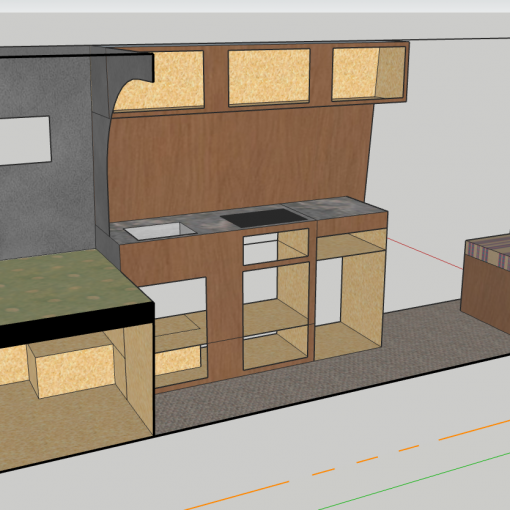
- Kitchen
- Storage
- Interiors and upholstery.
 Stripping out and cleaning
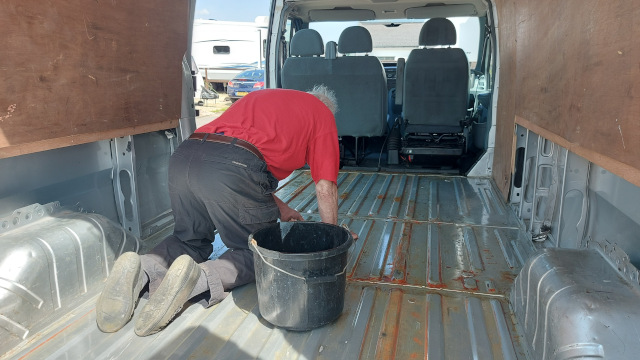
The first real step in any DIY campervan conversion is stripping out the current interior of the van and giving it a good clean. How long this takes will depend on the type of van you’ve bought and whether you discover any problems along the way.
This is the perfect opportunity to treat for any damp or mould and repair any rust spots or other damage you discover.
However, be careful with what you strip out as you could re-use some of the interior materials or even make a tidy sum on an auction site.
 once again thank you
Windows and ventilation
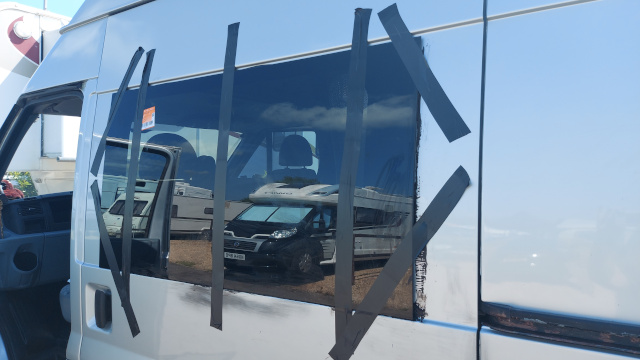
Perhaps the most obvious exterior difference between a campervan and a panel van is the addition of windows. So, cutting a hole in your van walls and fitting windows is one of the first jobs you’ll need to do.
Their location will depend on your chosen layout, so that’s why it’s so important to have planned ahead. Remember to triple-check your measurements – making a mistake at this stage is not an option!
While you’re cutting holes in your van also consider installing skylights to let in more light and give a sense of space.
Next up is the installation of a ventilation system in the van. Living and cooking in your home on wheels will create a lot of heat and water vapour in the interior, which will need to be removed somehow.
From top-of-the-range roof vents to simple window air vents getting fresh air circulating in the van is an important consideration. Even more so if your ideal van includes a toilet, shower or sink. After all that hard work, no one wants a moist, mouldy van!
Install an awning
Another additional extra, but well worth considering at this stage.
Exploring with a campervan lets you get out in nature, independently and at your own pace – and we wouldn’t swap it for anything else. However, one of the drawbacks is that sometimes you need just a bit more space to spread out.
Whether the weather has turned miserable, you’ve got some extra guests staying, or you need a secure place to store your outdoor gear, an awning is a popular addition to campervans and can practically double your usable space in an instant.
When you’re converting it might be worth considering whether to install a wind-out canopy on the side or roof of your camper.
Framing (walls, ceiling and floor)
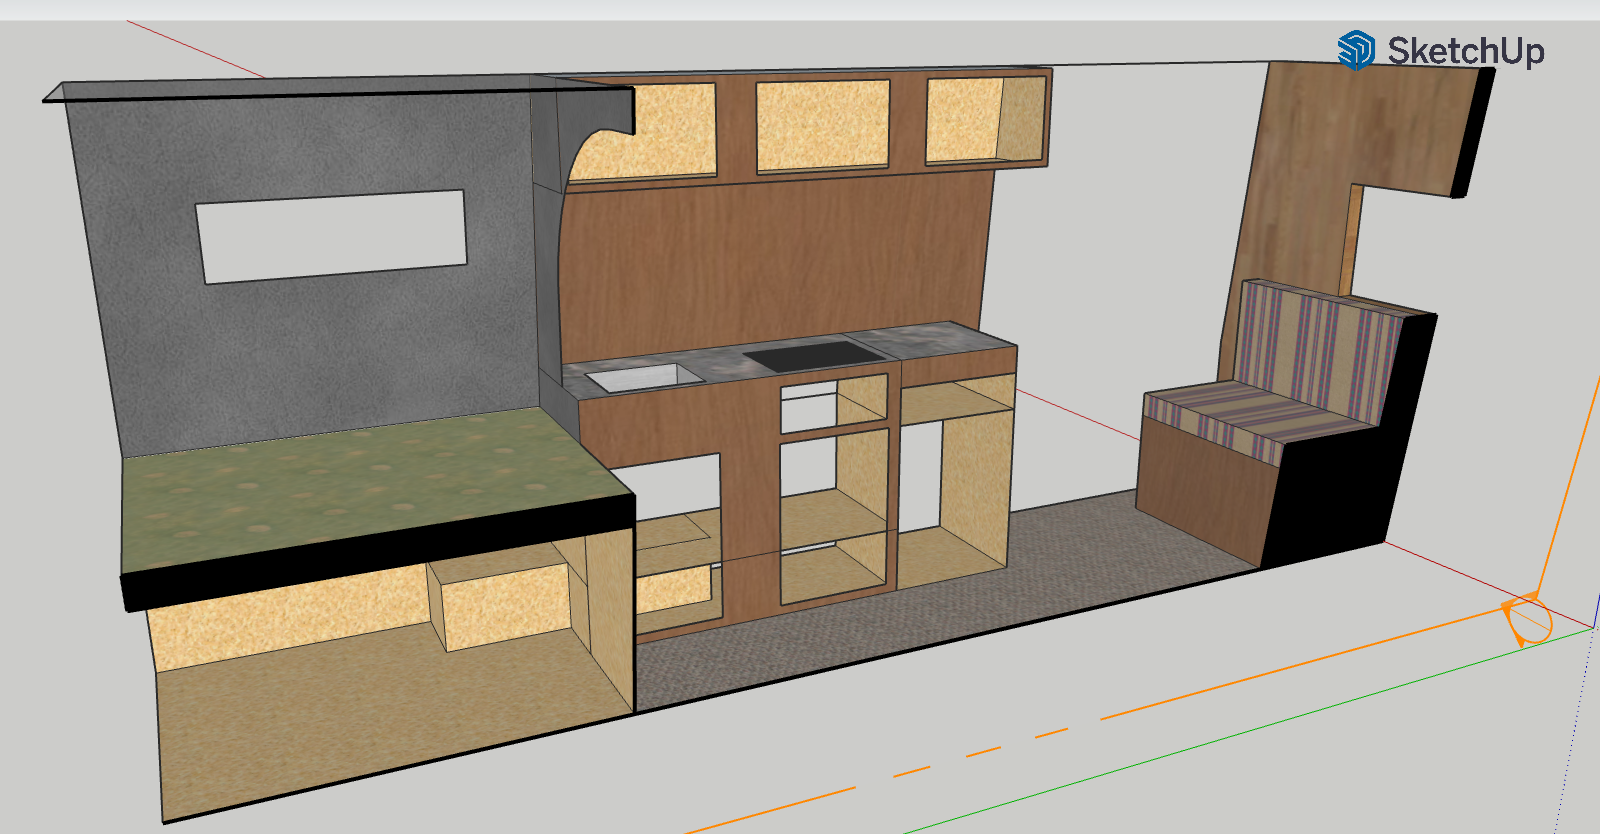
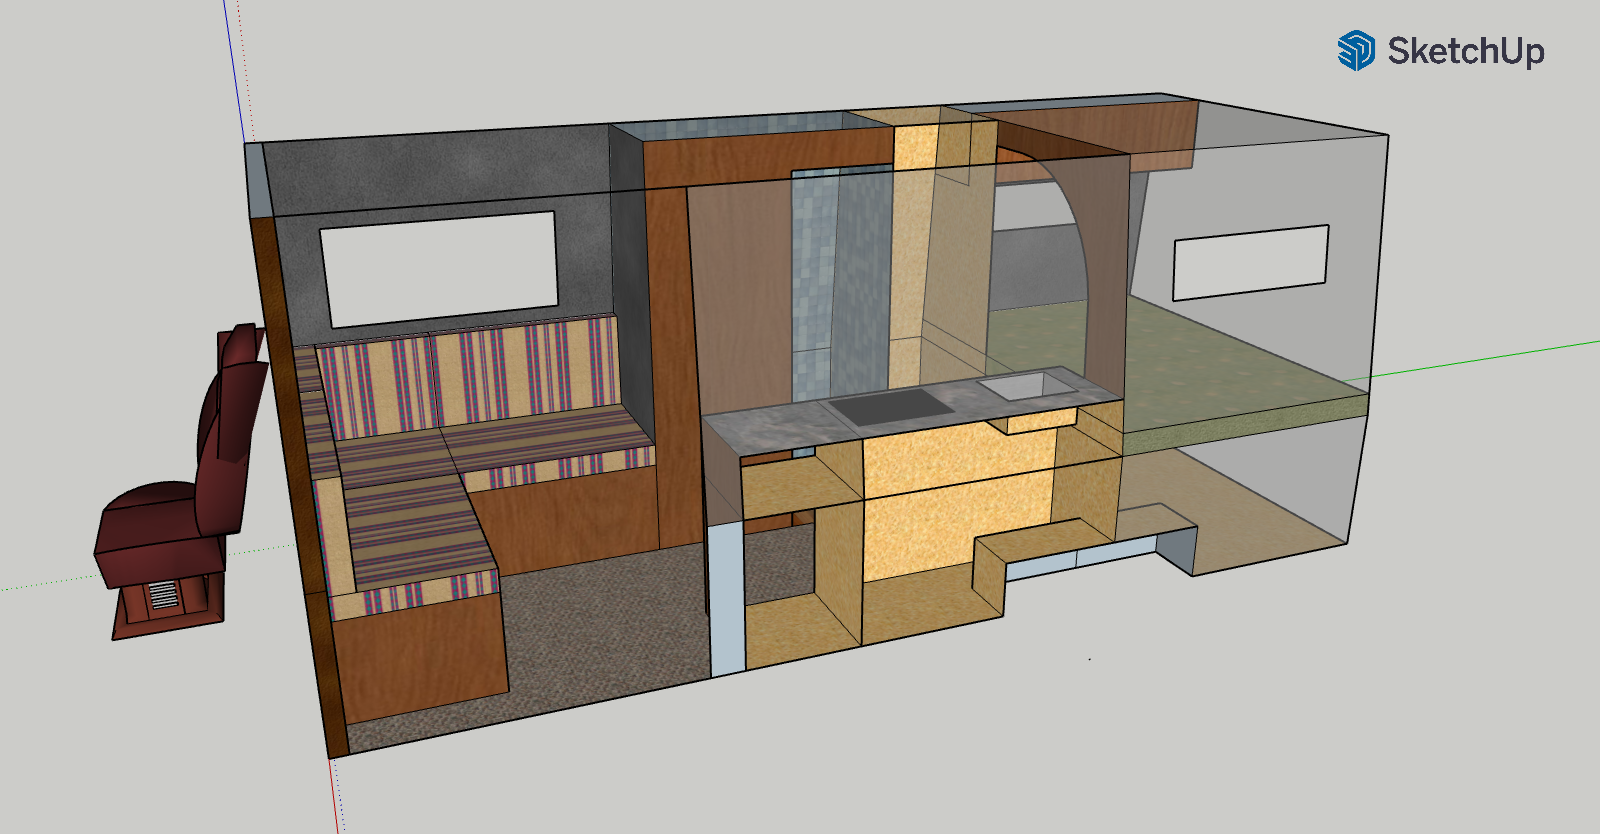
Now is an excellent opportunity to frame out your build. Framing out your build makes life easier in the long run and allows you to ensure straight walls and suitable locations to attach wall units and over head lockers.
Framing around window and roof vents also gives you somewhere to build to. Saves having loose and unsightly gaps and wobbly walls.
 First Fix Electrics (running cables)
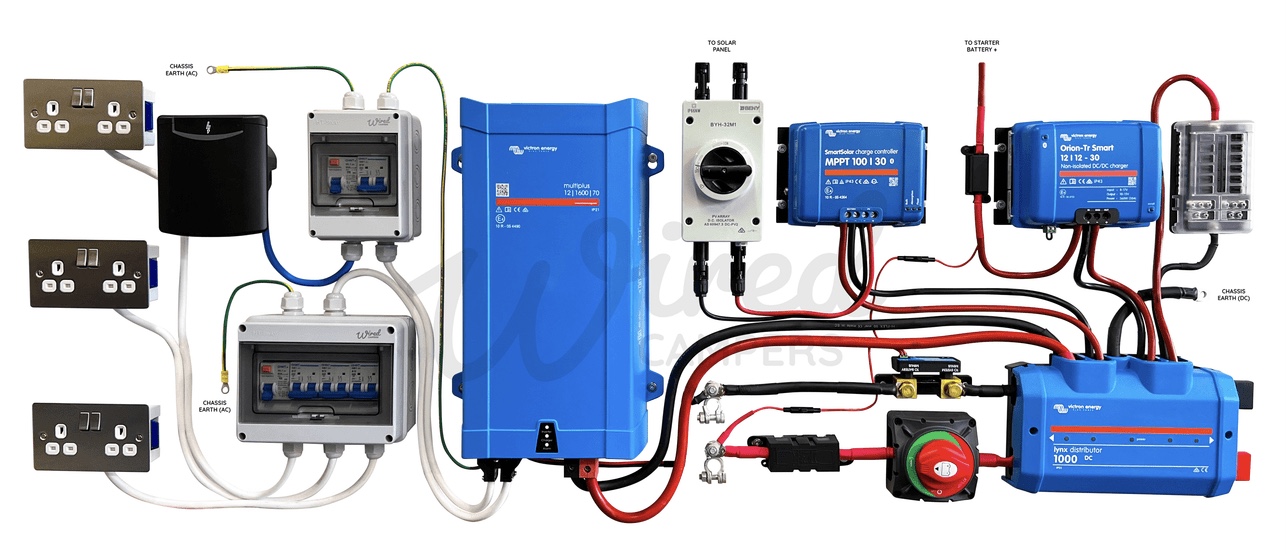
Assuming you have designed the layout of your dream home on wheels now is the time to run the cables through the frame and pillars in the van ready to receive all the sockets, lights and other goodies you have decided to install. I always find it very useful to label both ends of the cable so you don’t forget what they are to be used for.
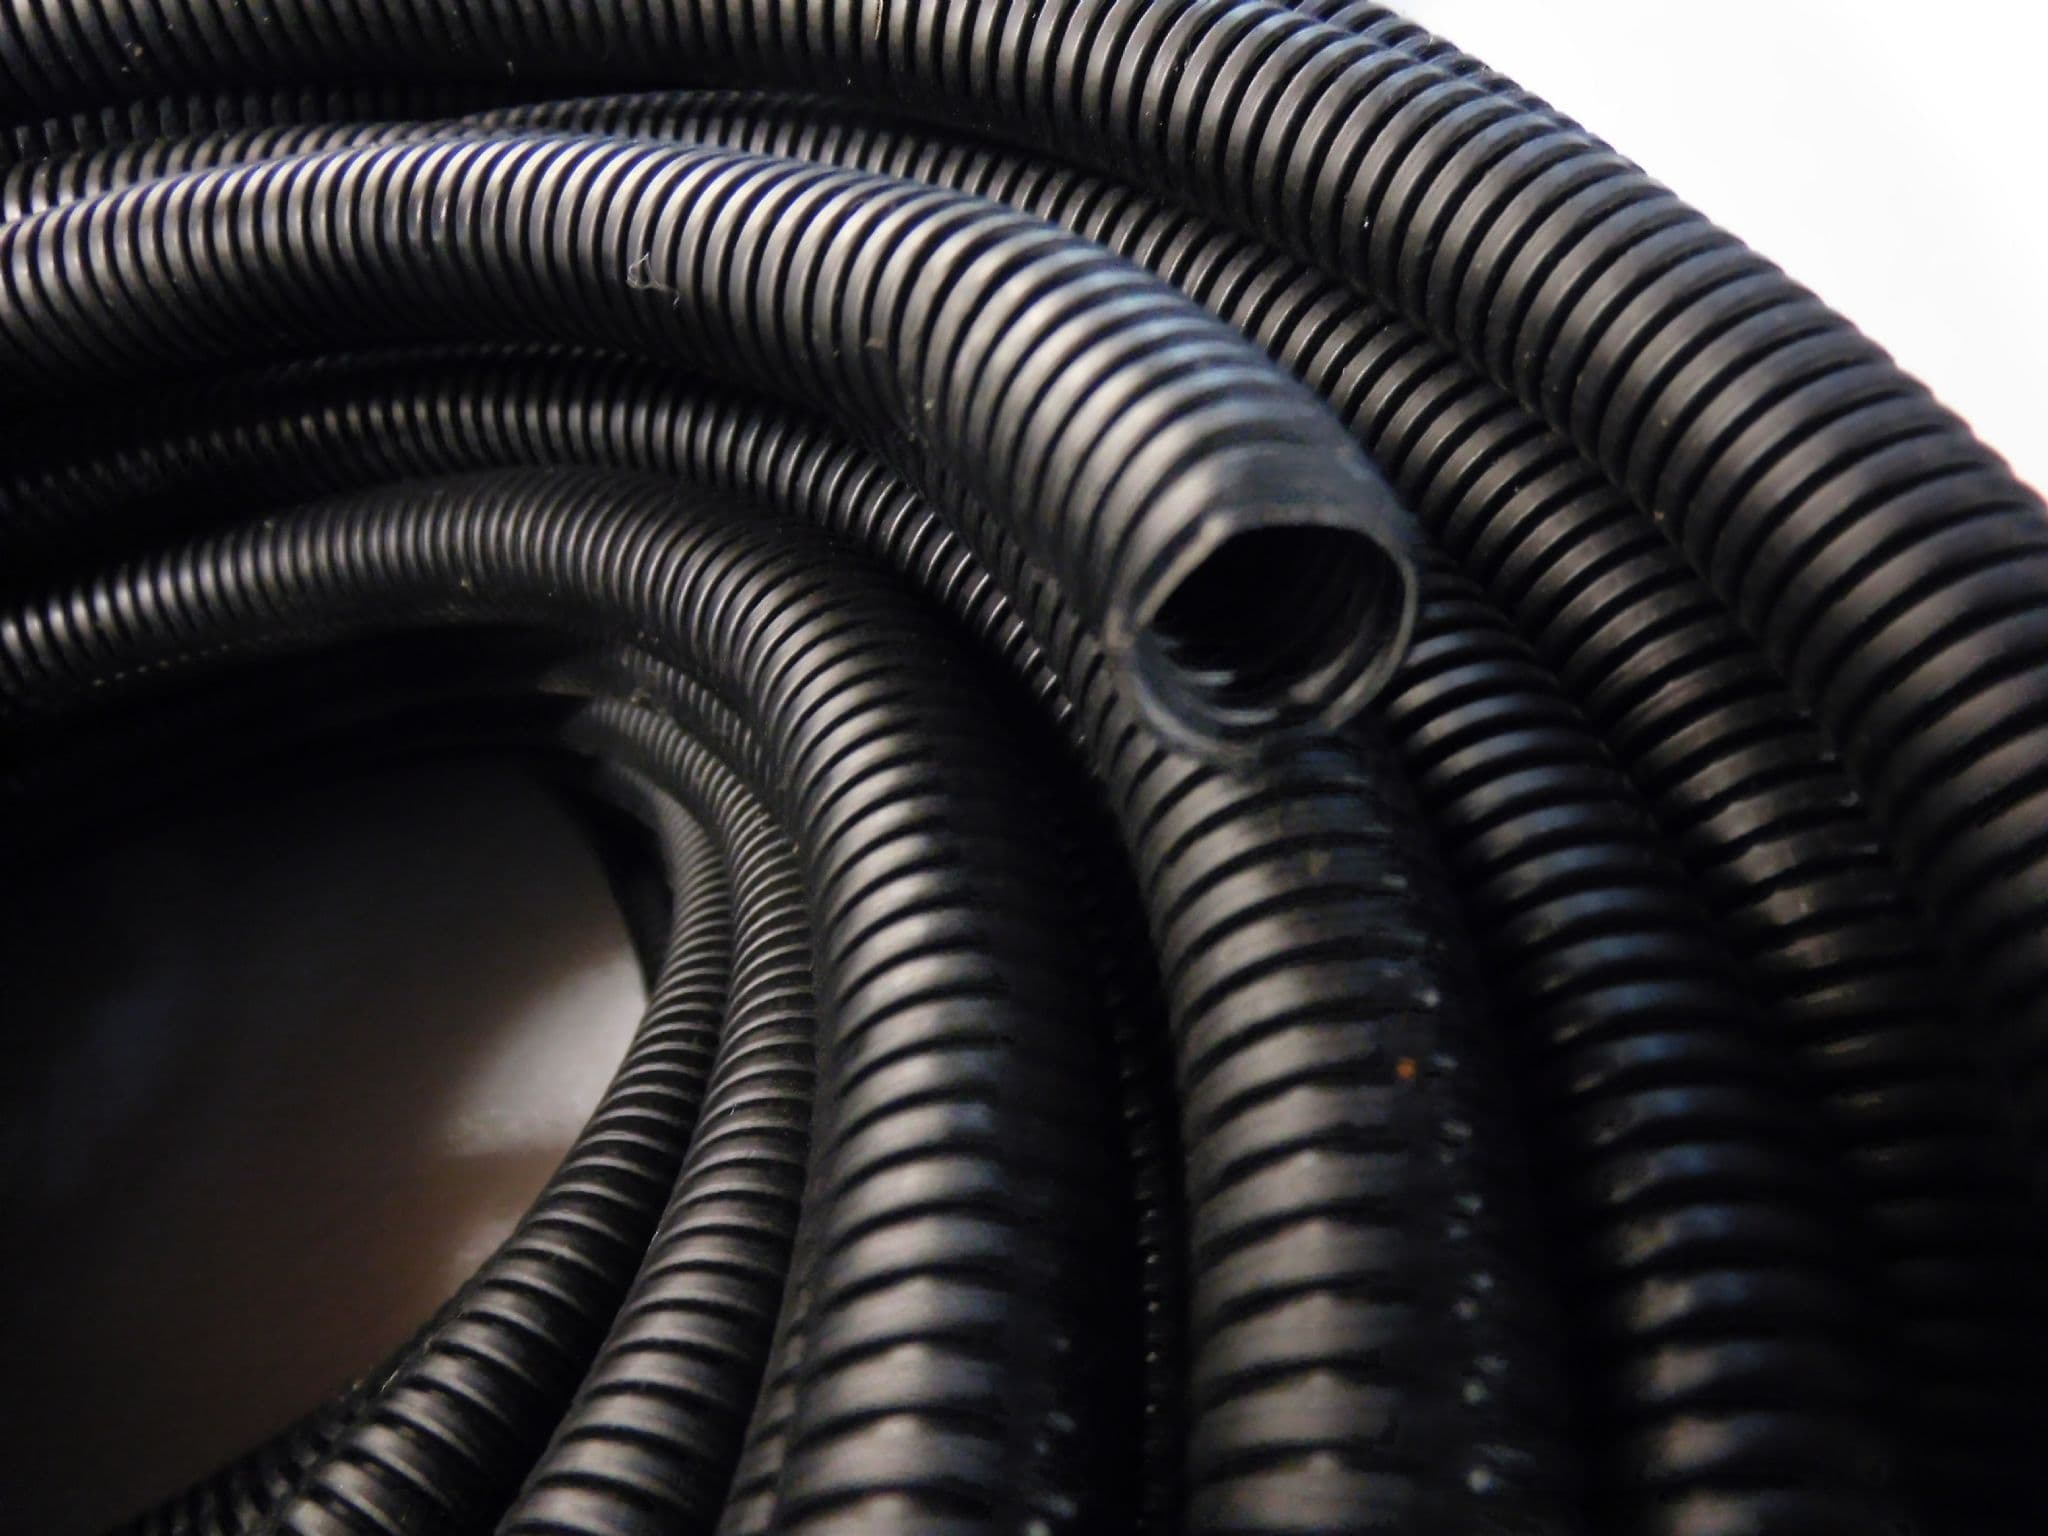
It’s always a good idea to house your wire runs in conduit, see the picture, as it will protect your wiring and make sure it doesn’t chafe against the metal frame of the van.
Always use multi stranded cable for both 12v and 240v as the constant movement of the van is likely to fracture solid core cable.
Please ensure that 12v and 240v cabling are kept separate , not only is it a build requirement but it reduces the risk of grounding against the metal body’s or other cables in the unfortunate event of an accident.
Insulation and heating
Getting the right balance between promoting air flow but also keeping the van temperature controlled is a tricky one to get right. But if you do it will go a long way to making the camper-van experience more pleasurable.
Good insulation will keep heat in, excess heat out and reduce the levels of condensation. And combined with a decent gas heater you should be cosy and dry whatever the weather!
There are many materials used to insulate campervans, from normal house insulation, thick foam or foil insulation. You apply these to the bare metal of the insides of the van using a spray adhesive or double-sided foam and then follow it with a vapour barrier to stop moisture being trapped.
Some rubber matting or lining carpet for sound deadening goes on next, followed by the final plywood panel. As well as controlling the temperature, this also makes the campervan more private.
 Electric and gas systems
Taking on the conversion of a campervan is an exciting DIY project – but we all need to be aware of our limits.
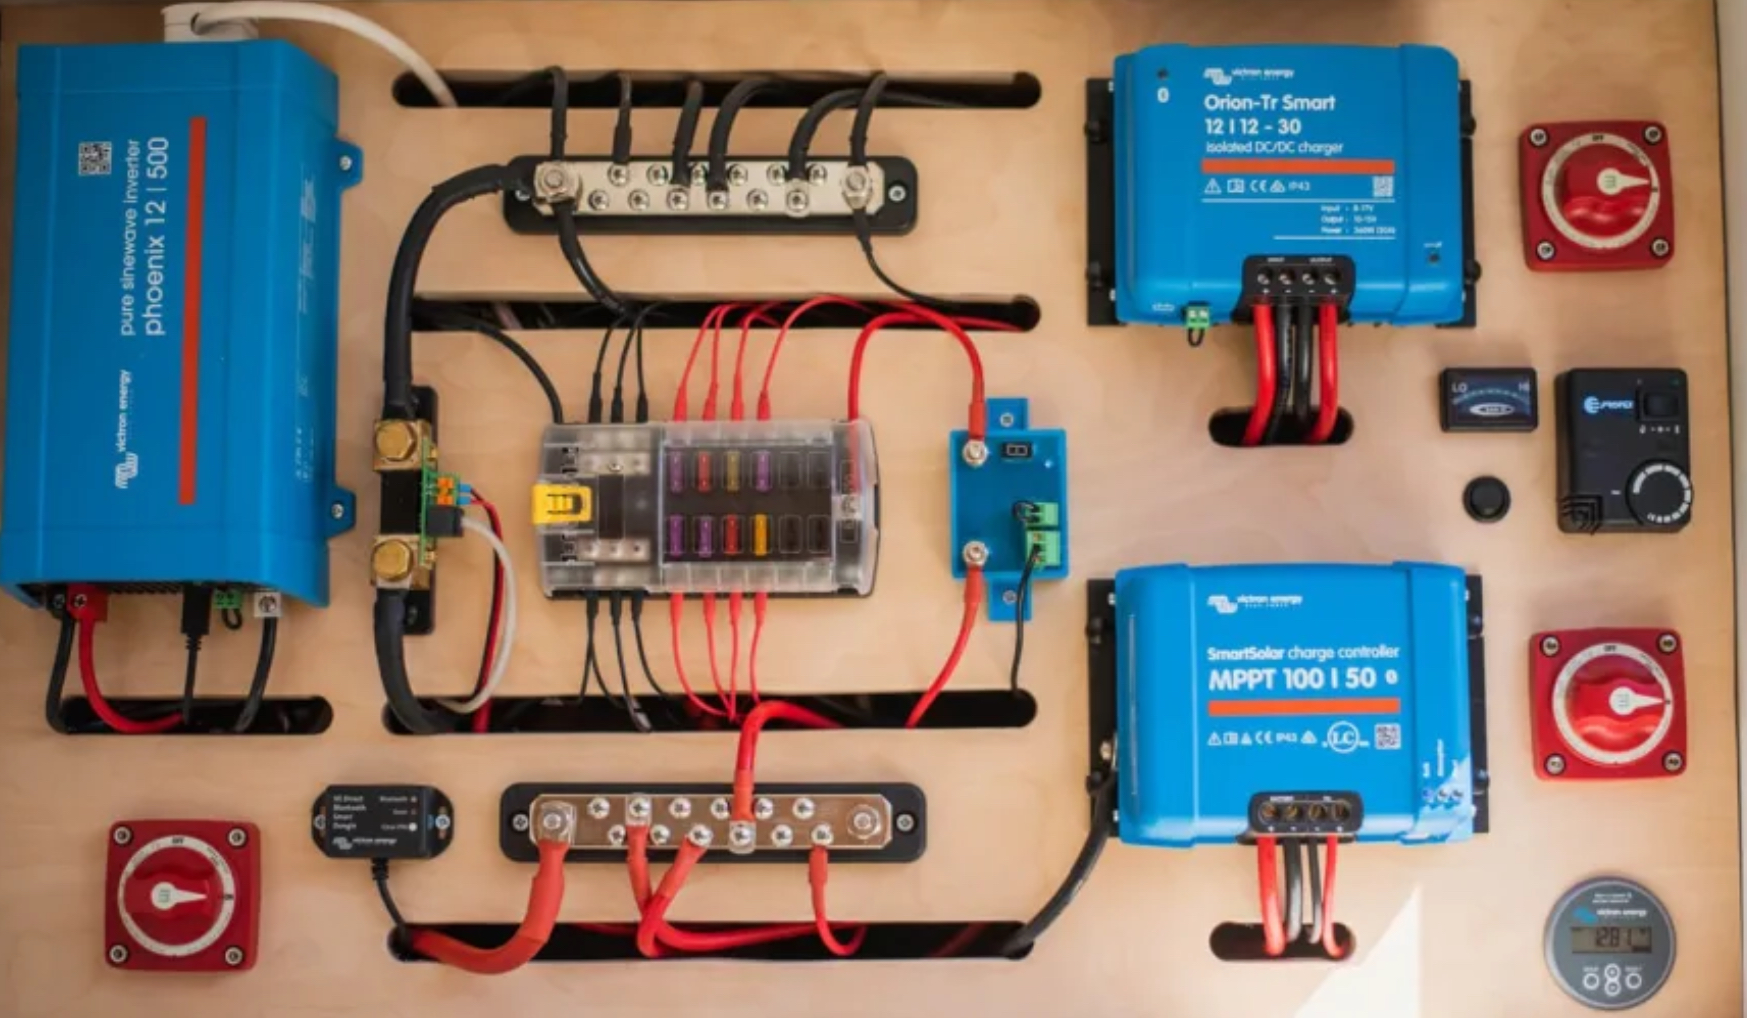
Electricity and gas installation really is a job for the professionals as done incorrectly the results can be disastrous.
Also, if you think you might one day resell your converted camper its value will be seriously affected if you can’t prove the work was done to the correct standards.
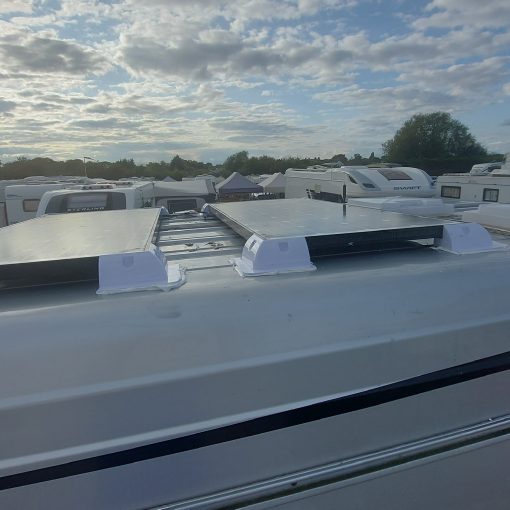
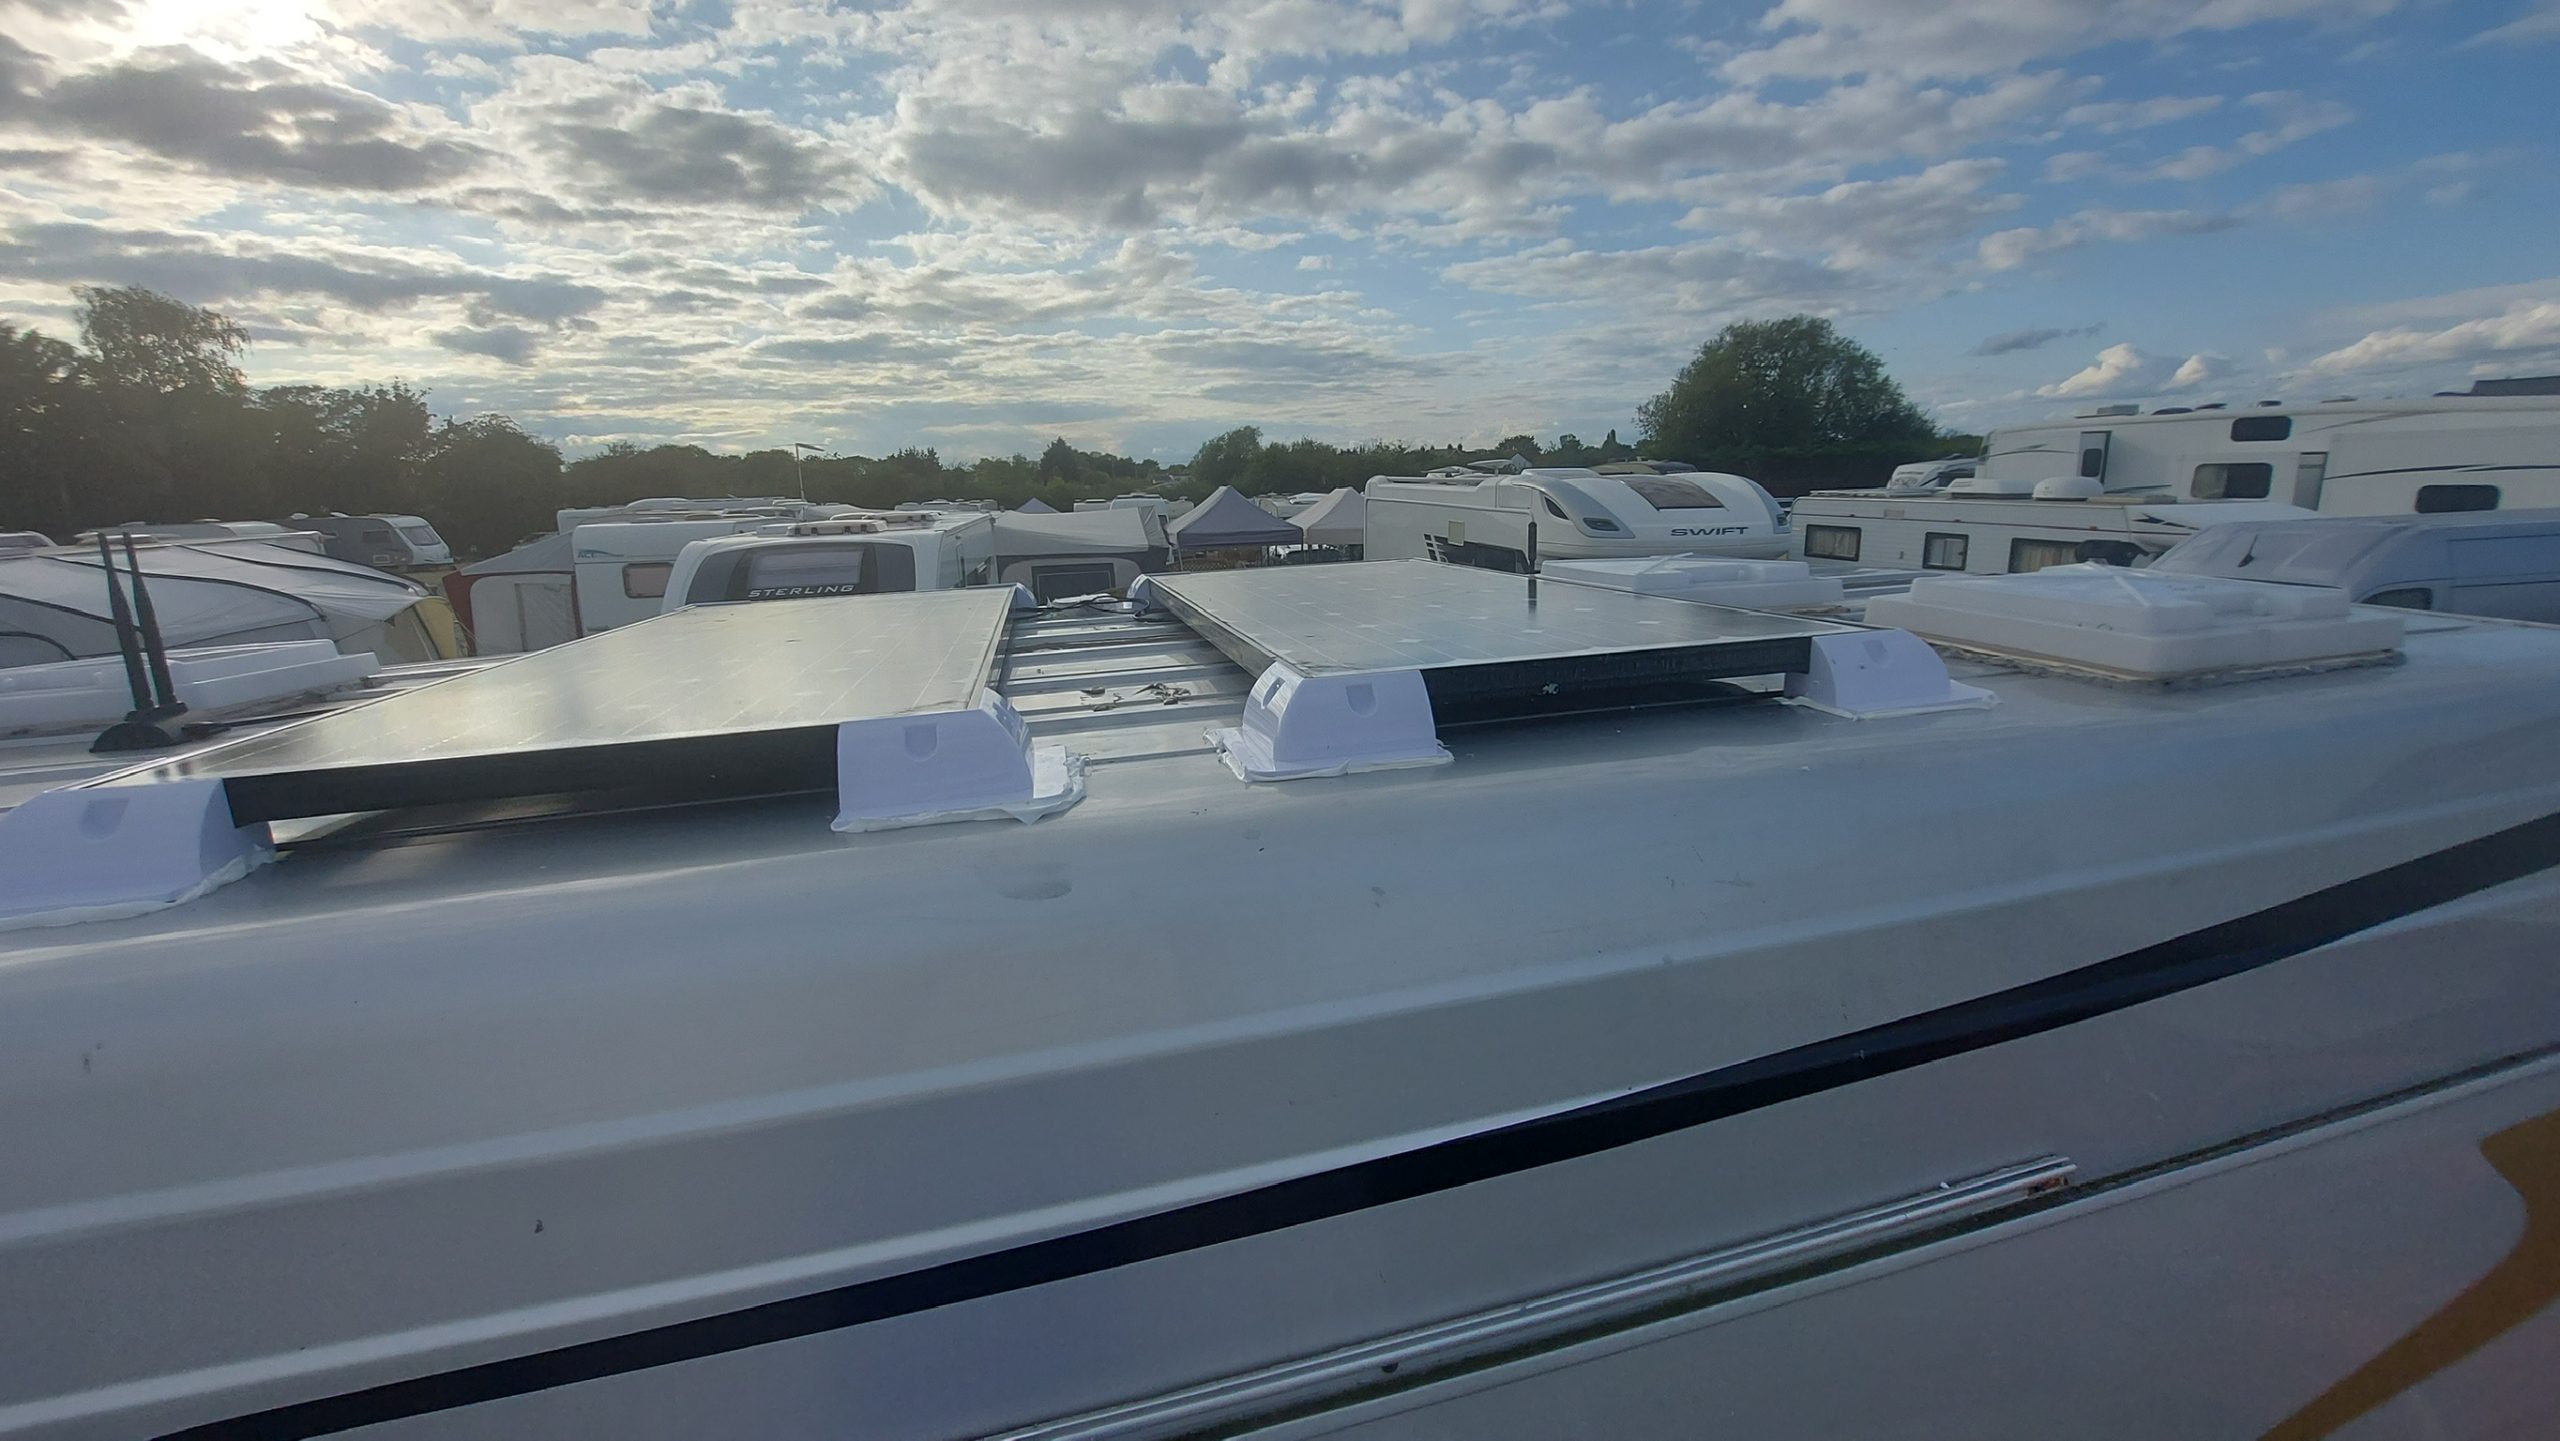
If you think you might indulge in a spot of wild camping or staying at campsites without electricity then a useful ‘extra’ is to consider installing solar panels to boost your power.
Be warned though, installing them incorrectly, or failing to maintain them, will mean you might not get the full benefit of those sunshine hours.
 Plumbing and water
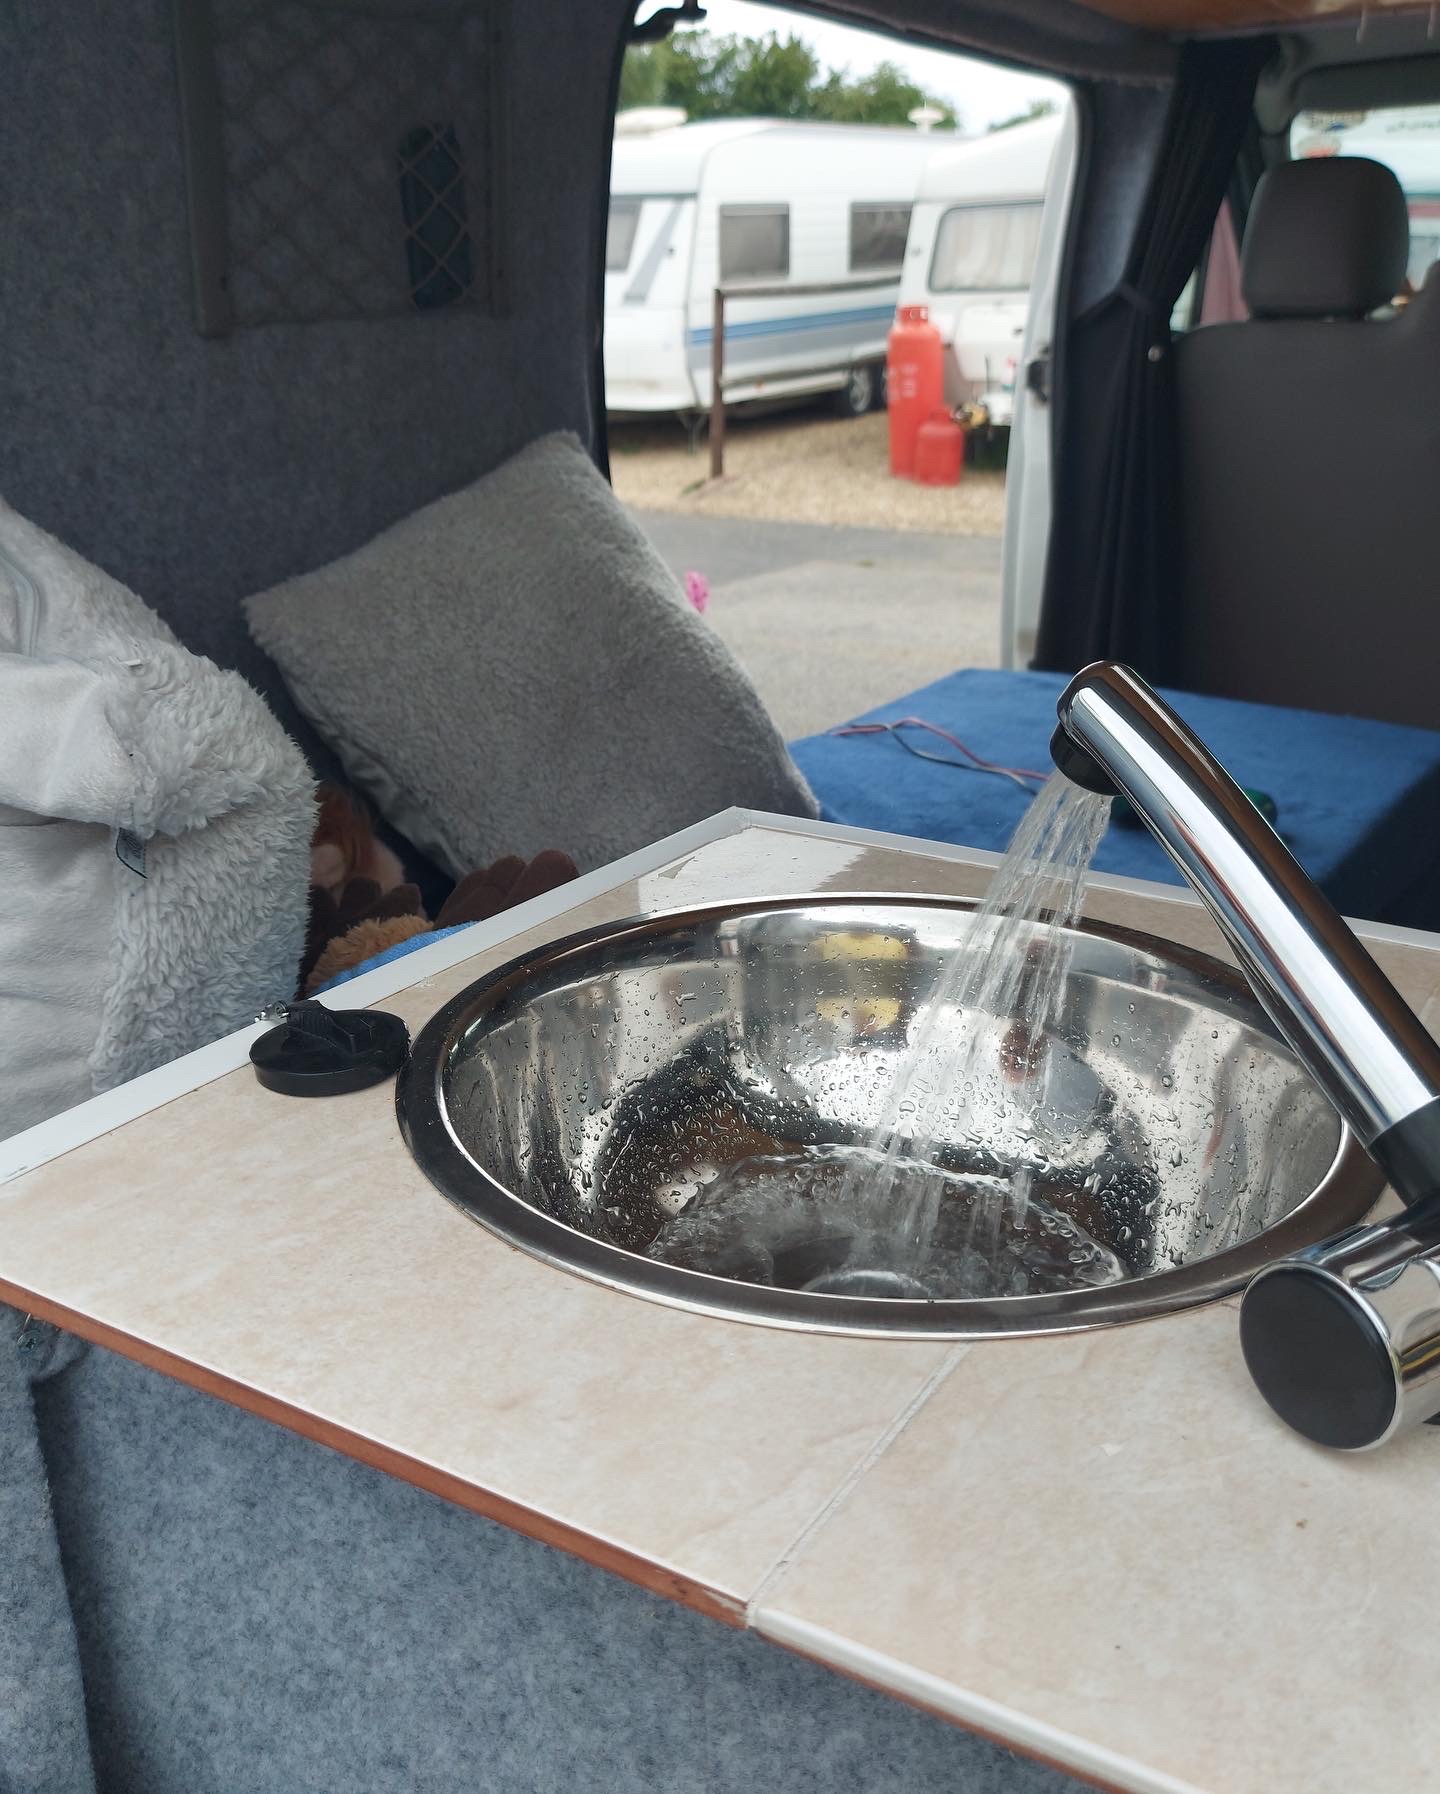
A campervan isn’t just a place to sleep, it’s also a place to live, relax and even work. And when it comes to basic necessities for life, access to fresh water has to be at the very top!
But once you’ve used the water you’ll also need a place to store the waste water until you visit a disposal point.
Unless you’re looking to install a toilet or shower in your campervan, the installation of a cold-water system is relatively straightforward.
The main options you have are to install either external portable containers or fixed internal tanks.
Most campervan converters opt for the convenience of internal tanks, with most located under the van and operated using 12-volt pumps.
In terms of collecting waste water, again most go with an internal tank. Remember that, along with the pipes, this needs to be easily accessible for cleaning and maintenance.
For both fresh and waste water, it’s important to accurately estimate your water usage to determine the correct tank size.
Bed and seating
A campervan simply isn’t a campervan if it hasn’t got a comfy bed and seating. A fixed bed is ideal particularly if there are two of you living in the van, and there’ll be oodles of storage space underneath for lots of camping gear.
Depending on the size of van you’ve opted for, you might not have the space for a permanent bed, but not to worry as there are plenty of innovative options out there to suit all needs.
Remember to keep your build as light as possible to stay within your weight limit
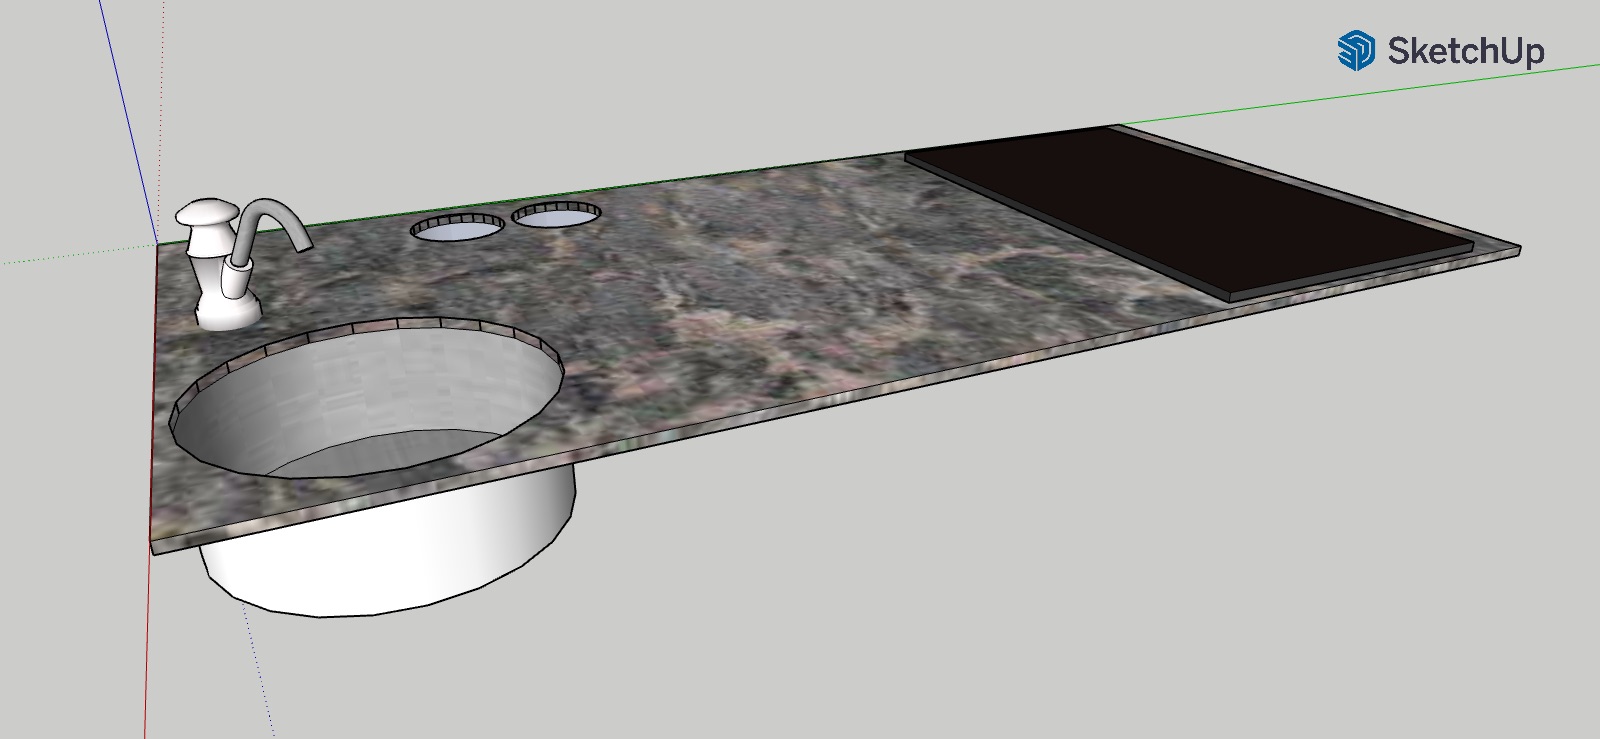 Kitchen
When you’ve got lights, water and gas sorted out then you’ll be wanting to make yourself a nice cup of tea to celebrate all your hard work. Is there anything better than putting a kettle on the hob and settling back?
Putting a kitchen into your camper is a sure-fire way to get that homely feel. From stove/sink combinations to small space-saving fridges there are plenty of options out there so you can enjoy a home-cooked meal on the road.
Storage spaces
If you plan on touring for anything more than a few days then factoring storage into your DIY campervan conversion is really important.
There are so many creative storage hacks and ideas on the internet that there’s really not space to go into them all here! Make use of the backs of doors and chairs – and don’t forget the roof.
Interiors and upholstery
When you consider all the other issues that you’ll have to surmount when converting a campervan, interior decoration might not seem high on the list.
You’d be right, but if you want your newly converted camper to feel like a home away from home then putting some effort into this part is well worth it – and it’s a lot of fun!
Staying legal
Particularly if you’re doing the conversion work yourself, it’s important that you stay on the right side of the law as there are a number of rules and regulations that it’s all too easy to fall foul of.
Check your weight
It’s essential to check your converted van, additional features, contents and passengers, will not exceed the legal weight to drive.
Do the following to check:
Before starting work on your DIY campervan conversion, take the van to a weigh-bridge to find out its unladen weight. Find your nearest weigh-bridge via the government website.
Take this weight from the van’s maximum authorised mass (MAM) (found on the VIN plate or the owner’s manual).
This will give you the maximum weight that your fittings and furnishings, luggage and any passengers can be.
If you exceed this you will be committing an offence under the Road Traffic Act.
Check your driving licence
If you plan to drive your converted campervan in the UK, you need to be licensed to drive in one of two categories. Your age and the van’s MAM will determine the type of licence you require.
If your vehicle has a MAM of 3.5 to 7.5 tonnes, you will need a category C1 licence.
If your vehicle has a MAM over 7.5 tonnes, you will need a category C licence.
Most campervans are so-called Class B vehicles and will be suitable for C1 category licence holders. Always check before taking to the road in your campervan for the first time.
Reclassifying your van
After converting a van into a campervan, it will need to be reclassified through the DVLA. This will formally change it from a ‘van’ into a ‘motor caravan’.
Doing so grants you a range of benefits in terms of insurance cover, cheaper MOTs, and higher speed limits in some cases.
The DVLA is very strict about the changes you need to make in order to qualify for reclassification. These go far beyond simply putting windows and a bed in the van.
The full criteria can befound here or via the government website.